Difference between revisions of "London Underground Multiple Units"
Jump to navigation
Jump to search


m (→2009 Stock) |
m |
||
| (2 intermediate revisions by the same user not shown) | |||
| Line 12: | Line 12: | ||
| colspan="5" | '''[Headcode];[Description];[Initial Speed];72;182;68;354''' | | colspan="5" | '''[Headcode];[Description];[Initial Speed];72;182;68;354''' | ||
|} | |} | ||
| − | + | <div style="clear: both;"></div> | |
| − | |||
== [https://en.wikipedia.org/wiki/London_Underground_1973_Stock 1973 Stock] == | == [https://en.wikipedia.org/wiki/London_Underground_1973_Stock 1973 Stock] == | ||
[[File:1973 Tube Stock Hillingdon.jpg|300px|right]] | [[File:1973 Tube Stock Hillingdon.jpg|300px|right]] | ||
| Line 24: | Line 23: | ||
| colspan="5" | '''[Headcode];[Description];[Initial Speed];72;150;56;354''' | | colspan="5" | '''[Headcode];[Description];[Initial Speed];72;150;56;354''' | ||
|} | |} | ||
| + | <div style="clear: both;"></div> | ||
| Line 41: | Line 41: | ||
| colspan="5" | '''[Headcode];[Description];[Initial Speed];100;84;38;344''' | | colspan="5" | '''[Headcode];[Description];[Initial Speed];100;84;38;344''' | ||
|} | |} | ||
| − | + | <div style="clear: both;"></div> | |
== [https://en.wikipedia.org/wiki/London_Underground_1995_Stock 1995 Stock] == | == [https://en.wikipedia.org/wiki/London_Underground_1995_Stock 1995 Stock] == | ||
| Line 65: | Line 65: | ||
| colspan="5" | '''[Headcode];[Description];[Initial Speed];100;175;98;344''' | | colspan="5" | '''[Headcode];[Description];[Initial Speed];100;175;98;344''' | ||
|} | |} | ||
| − | + | <div style="clear: both;"></div> | |
== [https://en.wikipedia.org/wiki/London_Underground_2009_Stock 2009 Stock] == | == [https://en.wikipedia.org/wiki/London_Underground_2009_Stock 2009 Stock] == | ||
| Line 73: | Line 73: | ||
|- | |- | ||
| rowspan="2" | [[:Category:London Underground|London Underground]]:<br>''[[London Underground#Victoria Line|Victoria Line]]'' | | rowspan="2" | [[:Category:London Underground|London Underground]]:<br>''[[London Underground#Victoria Line|Victoria Line]]'' | ||
| − | | 8 || 80 || 208 || 156 || | + | | 8 || 80 || 208 || 156 || 1800 |
|- | |- | ||
| colspan="5" | '''[Headcode];[Description];[Initial Speed];80;208;156;1800''' | | colspan="5" | '''[Headcode];[Description];[Initial Speed];80;208;156;1800''' | ||
| Line 87: | Line 87: | ||
| 6 || 72 || 155 || 120 || 2500 | | 6 || 72 || 155 || 120 || 2500 | ||
|- | |- | ||
| − | | colspan="5" | '''[Headcode];[Description];[Initial Speed];80;208;156; | + | | colspan="5" | '''[Headcode];[Description];[Initial Speed];80;208;156;2500''' |
|} | |} | ||
| − | + | <div style="clear: both;"></div> | |
| − | |||
== [https://en.wikipedia.org/wiki/London_Underground_A60_and_A62_Stock A60 & A62 Stock] == | == [https://en.wikipedia.org/wiki/London_Underground_A60_and_A62_Stock A60 & A62 Stock] == | ||
[[File:A Stock at Amersham.jpg|300px|right]] | [[File:A Stock at Amersham.jpg|300px|right]] | ||
| Line 101: | Line 100: | ||
| colspan="5" | '''[Headcode];[Description];[Initial Speed];80;212;80;?''' | | colspan="5" | '''[Headcode];[Description];[Initial Speed];80;212;80;?''' | ||
|} | |} | ||
| − | + | <div style="clear: both;"></div> | |
== [https://en.wikipedia.org/wiki/London_Underground_C69_and_C77_Stock C69 & C77 Stock] == | == [https://en.wikipedia.org/wiki/London_Underground_C69_and_C77_Stock C69 & C77 Stock] == | ||
| Line 113: | Line 112: | ||
| colspan="5" | '''[Headcode];[Description];[Initial Speed];64;192;72;500''' | | colspan="5" | '''[Headcode];[Description];[Initial Speed];64;192;72;500''' | ||
|} | |} | ||
| − | + | <div style="clear: both;"></div> | |
== [https://en.wikipedia.org/wiki/London_Underground_D78_Stock D78 Stock] == | == [https://en.wikipedia.org/wiki/London_Underground_D78_Stock D78 Stock] == | ||
| Line 125: | Line 124: | ||
| colspan="5" | '''[Headcode];[Description];[Initial Speed];72;142;53;?''' | | colspan="5" | '''[Headcode];[Description];[Initial Speed];72;142;53;?''' | ||
|} | |} | ||
| − | + | <div style="clear: both;"></div> | |
== [https://en.wikipedia.org/wiki/London_Underground_S7_and_S8_Stock S7 & S8 Stock] == | == [https://en.wikipedia.org/wiki/London_Underground_S7_and_S8_Stock S7 & S8 Stock] == | ||
Latest revision as of 22:23, 21 January 2026
Data Accuracy Warning The following data is intended for use with Railway Operation Simulator only and should not be taken as fact. It may be inaccurate, estimated or guessed where no valid source is available. |
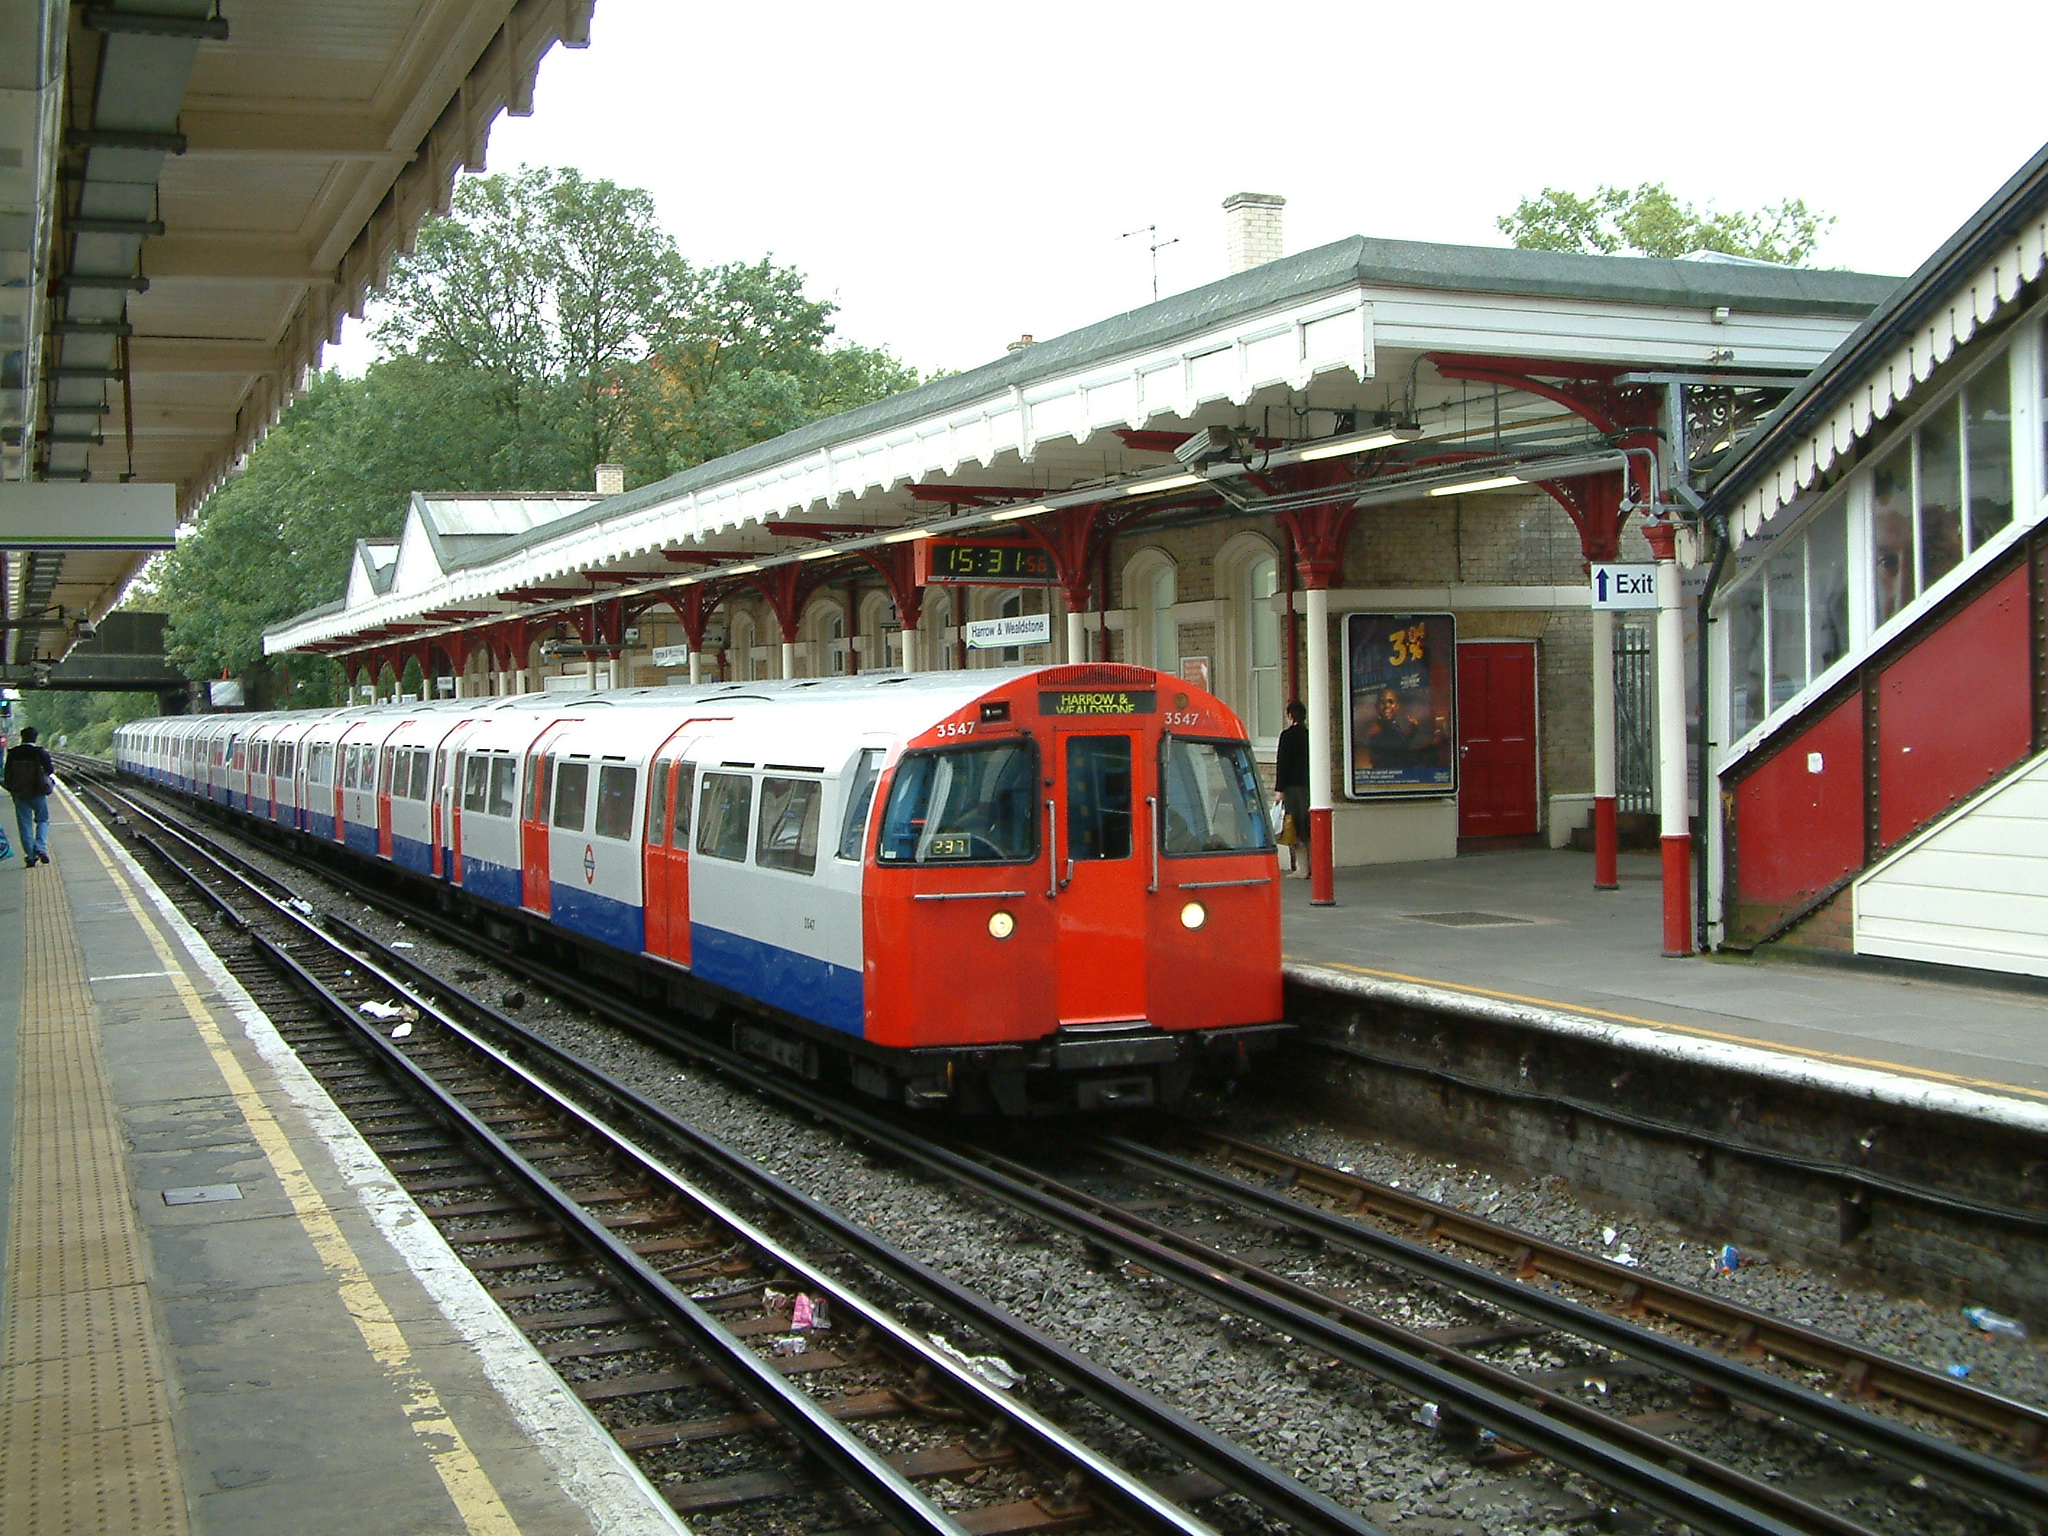
1972 Stock

| Operators | Number of Carriages | Maximum Speed (km/h) | Total Mass (long tons) | Max Braking Force (tons) | Power (kW) |
|---|---|---|---|---|---|
| London Underground: Bakerloo Line |
7 | 72 | 182 | 68 | 354 |
| [Headcode];[Description];[Initial Speed];72;182;68;354 | |||||
1973 Stock

| Operators | Number of Carriages | Maximum Speed (km/h) | Total Mass (long tons) | Max Braking Force (tons) | Power (kW) |
|---|---|---|---|---|---|
| London Underground: Piccadilly Line |
6 | 72 | 150 | 56 | 354 |
| [Headcode];[Description];[Initial Speed];72;150;56;354 | |||||
1992 Stock

| Operators | Number of Carriages | Maximum Speed (km/h) | Total Mass (long tons) | Max Braking Force (tons) | Power (kW) |
|---|---|---|---|---|---|
| London Underground: Central Line |
8 | 100 | 168 | 75 | 344 |
| [Headcode];[Description];[Initial Speed];100;168;75;344 | |||||
| London Underground: Waterloo & City Line |
4 | 100 | 84 | 38 | 344 |
| [Headcode];[Description];[Initial Speed];100;84;38;344 | |||||
1995 Stock

| Operators | Number of Carriages | Maximum Speed (km/h) | Total Mass (long tons) | Max Braking Force (tons) | Power (kW) |
|---|---|---|---|---|---|
| London Underground: Northern Line |
6 | 72 | 126 | 56 | 344 |
| [Headcode];[Description];[Initial Speed];72;126;56;344 | |||||
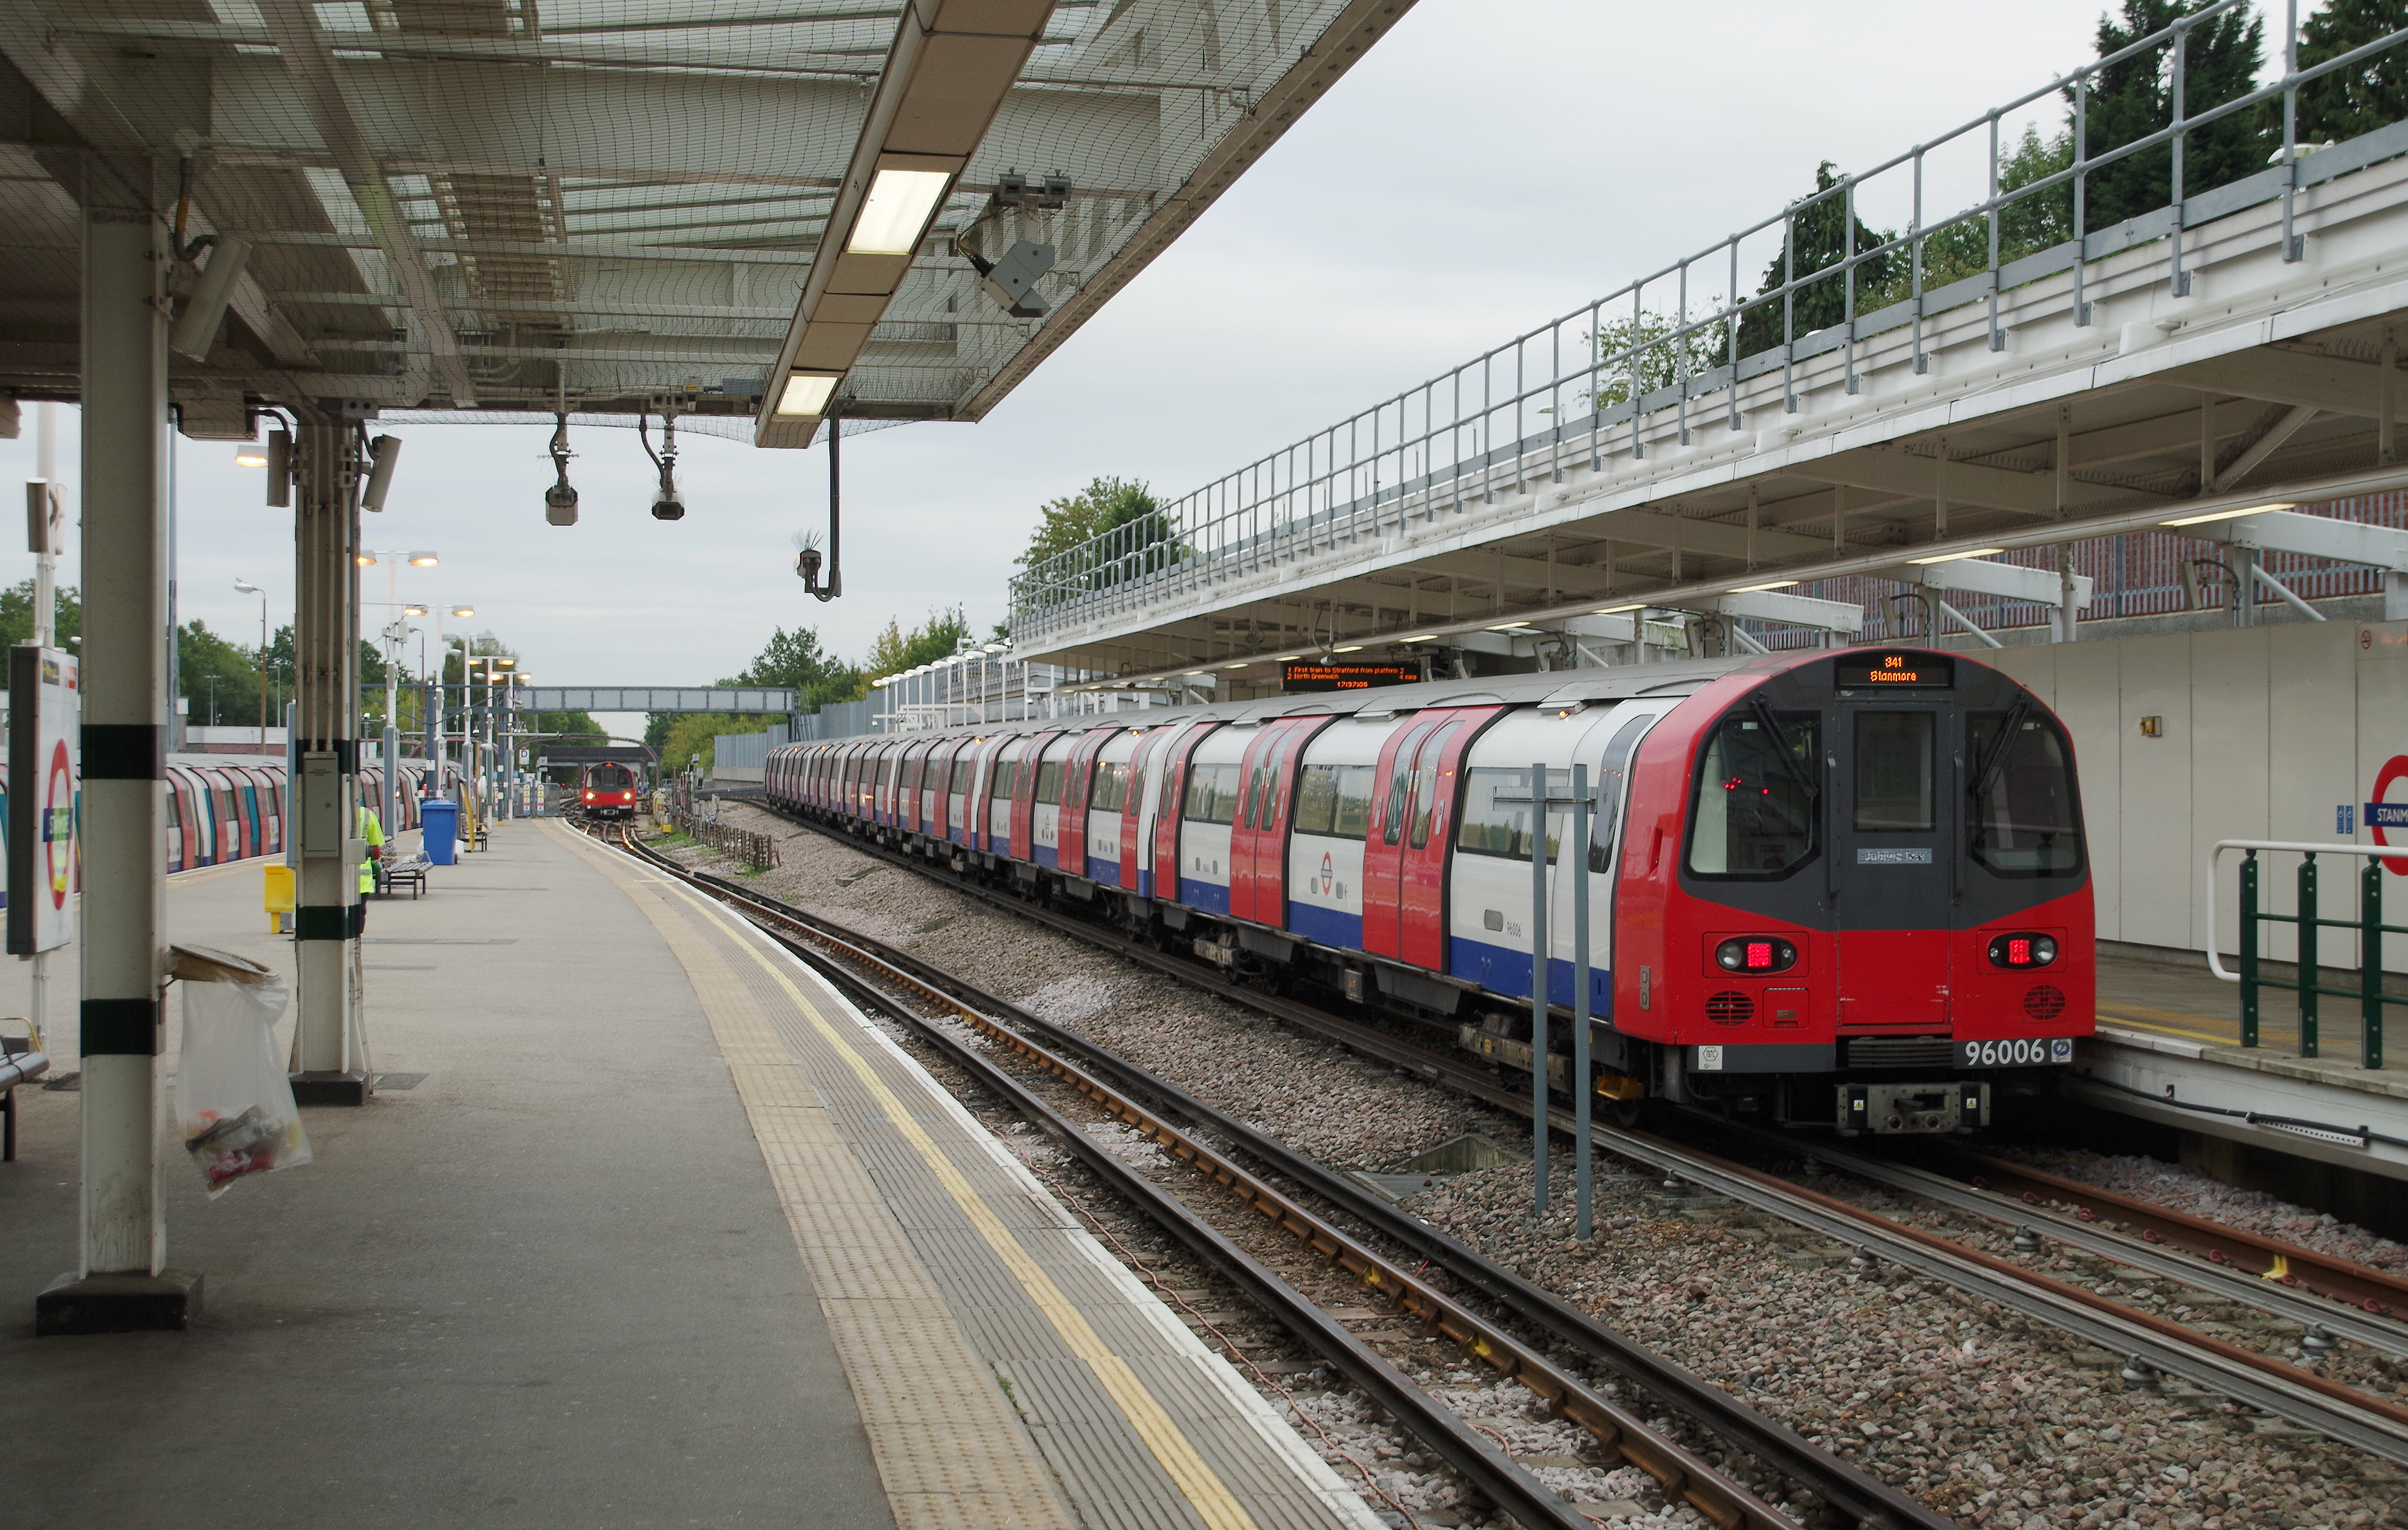
1996 Stock

| Operators | Number of Carriages | Maximum Speed (km/h) | Total Mass (long tons) | Max Braking Force (tons) | Power (kW) |
|---|---|---|---|---|---|
| London Underground: Jubilee Line |
7 | 100 | 175 | 98 | 344 |
| [Headcode];[Description];[Initial Speed];100;175;98;344 | |||||
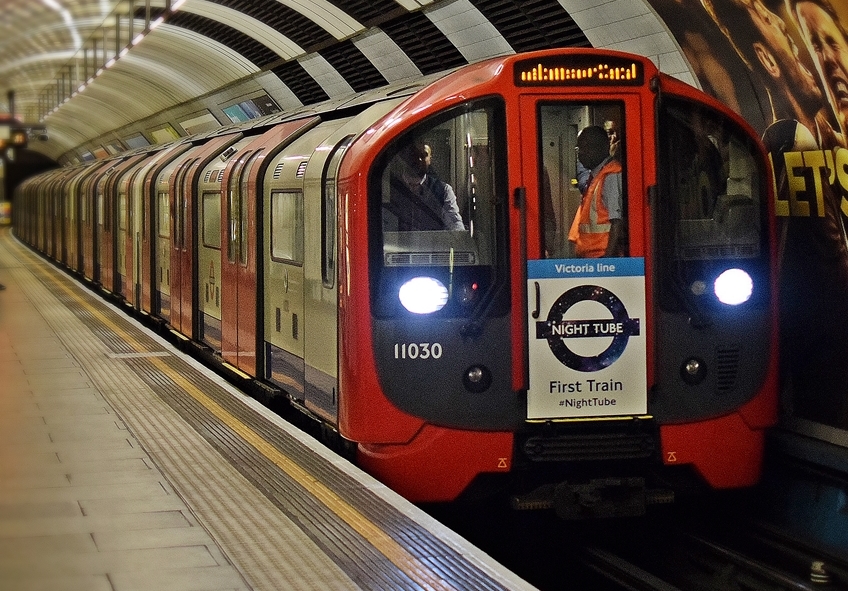
2009 Stock

| Operators | Number of Carriages | Maximum Speed (km/h) | Total Mass (long tons) | Max Braking Force (tons) | Power (kW) |
|---|---|---|---|---|---|
| London Underground: Victoria Line |
8 | 80 | 208 | 156 | 1800 |
| [Headcode];[Description];[Initial Speed];80;208;156;1800 | |||||
2024 Stock
.jpg)
| Operators | Number of Carriages | Maximum Speed (km/h) | Total Mass (long tons) | Max Braking Force (tons) | Power (kW) |
|---|---|---|---|---|---|
| London Underground: Victoria Line |
6 | 72 | 155 | 120 | 2500 |
| [Headcode];[Description];[Initial Speed];80;208;156;2500 | |||||
A60 & A62 Stock

| Operators | Number of Carriages | Maximum Speed (km/h) | Total Mass (long tons) | Max Braking Force (tons) | Power (kW) |
|---|---|---|---|---|---|
| London Underground: Metropolitan Line |
8 | 80 | 212 | 80 | ? |
| [Headcode];[Description];[Initial Speed];80;212;80;? | |||||
C69 & C77 Stock

| Operators | Number of Carriages | Maximum Speed (km/h) | Total Mass (long tons) | Max Braking Force (tons) | Power (kW) |
|---|---|---|---|---|---|
| London Underground: Circle Line District Line Hammersmith & City Line Metropolitan Line |
6 | 64 | 192 | 72 | 500 |
| [Headcode];[Description];[Initial Speed];64;192;72;500 | |||||
D78 Stock

| Operators | Number of Carriages | Maximum Speed (km/h) | Total Mass (long tons) | Max Braking Force (tons) | Power (kW) |
|---|---|---|---|---|---|
| London Underground: District Line |
6 | 72 | 142 | 53 | ? |
| [Headcode];[Description];[Initial Speed];72;142;53;? | |||||
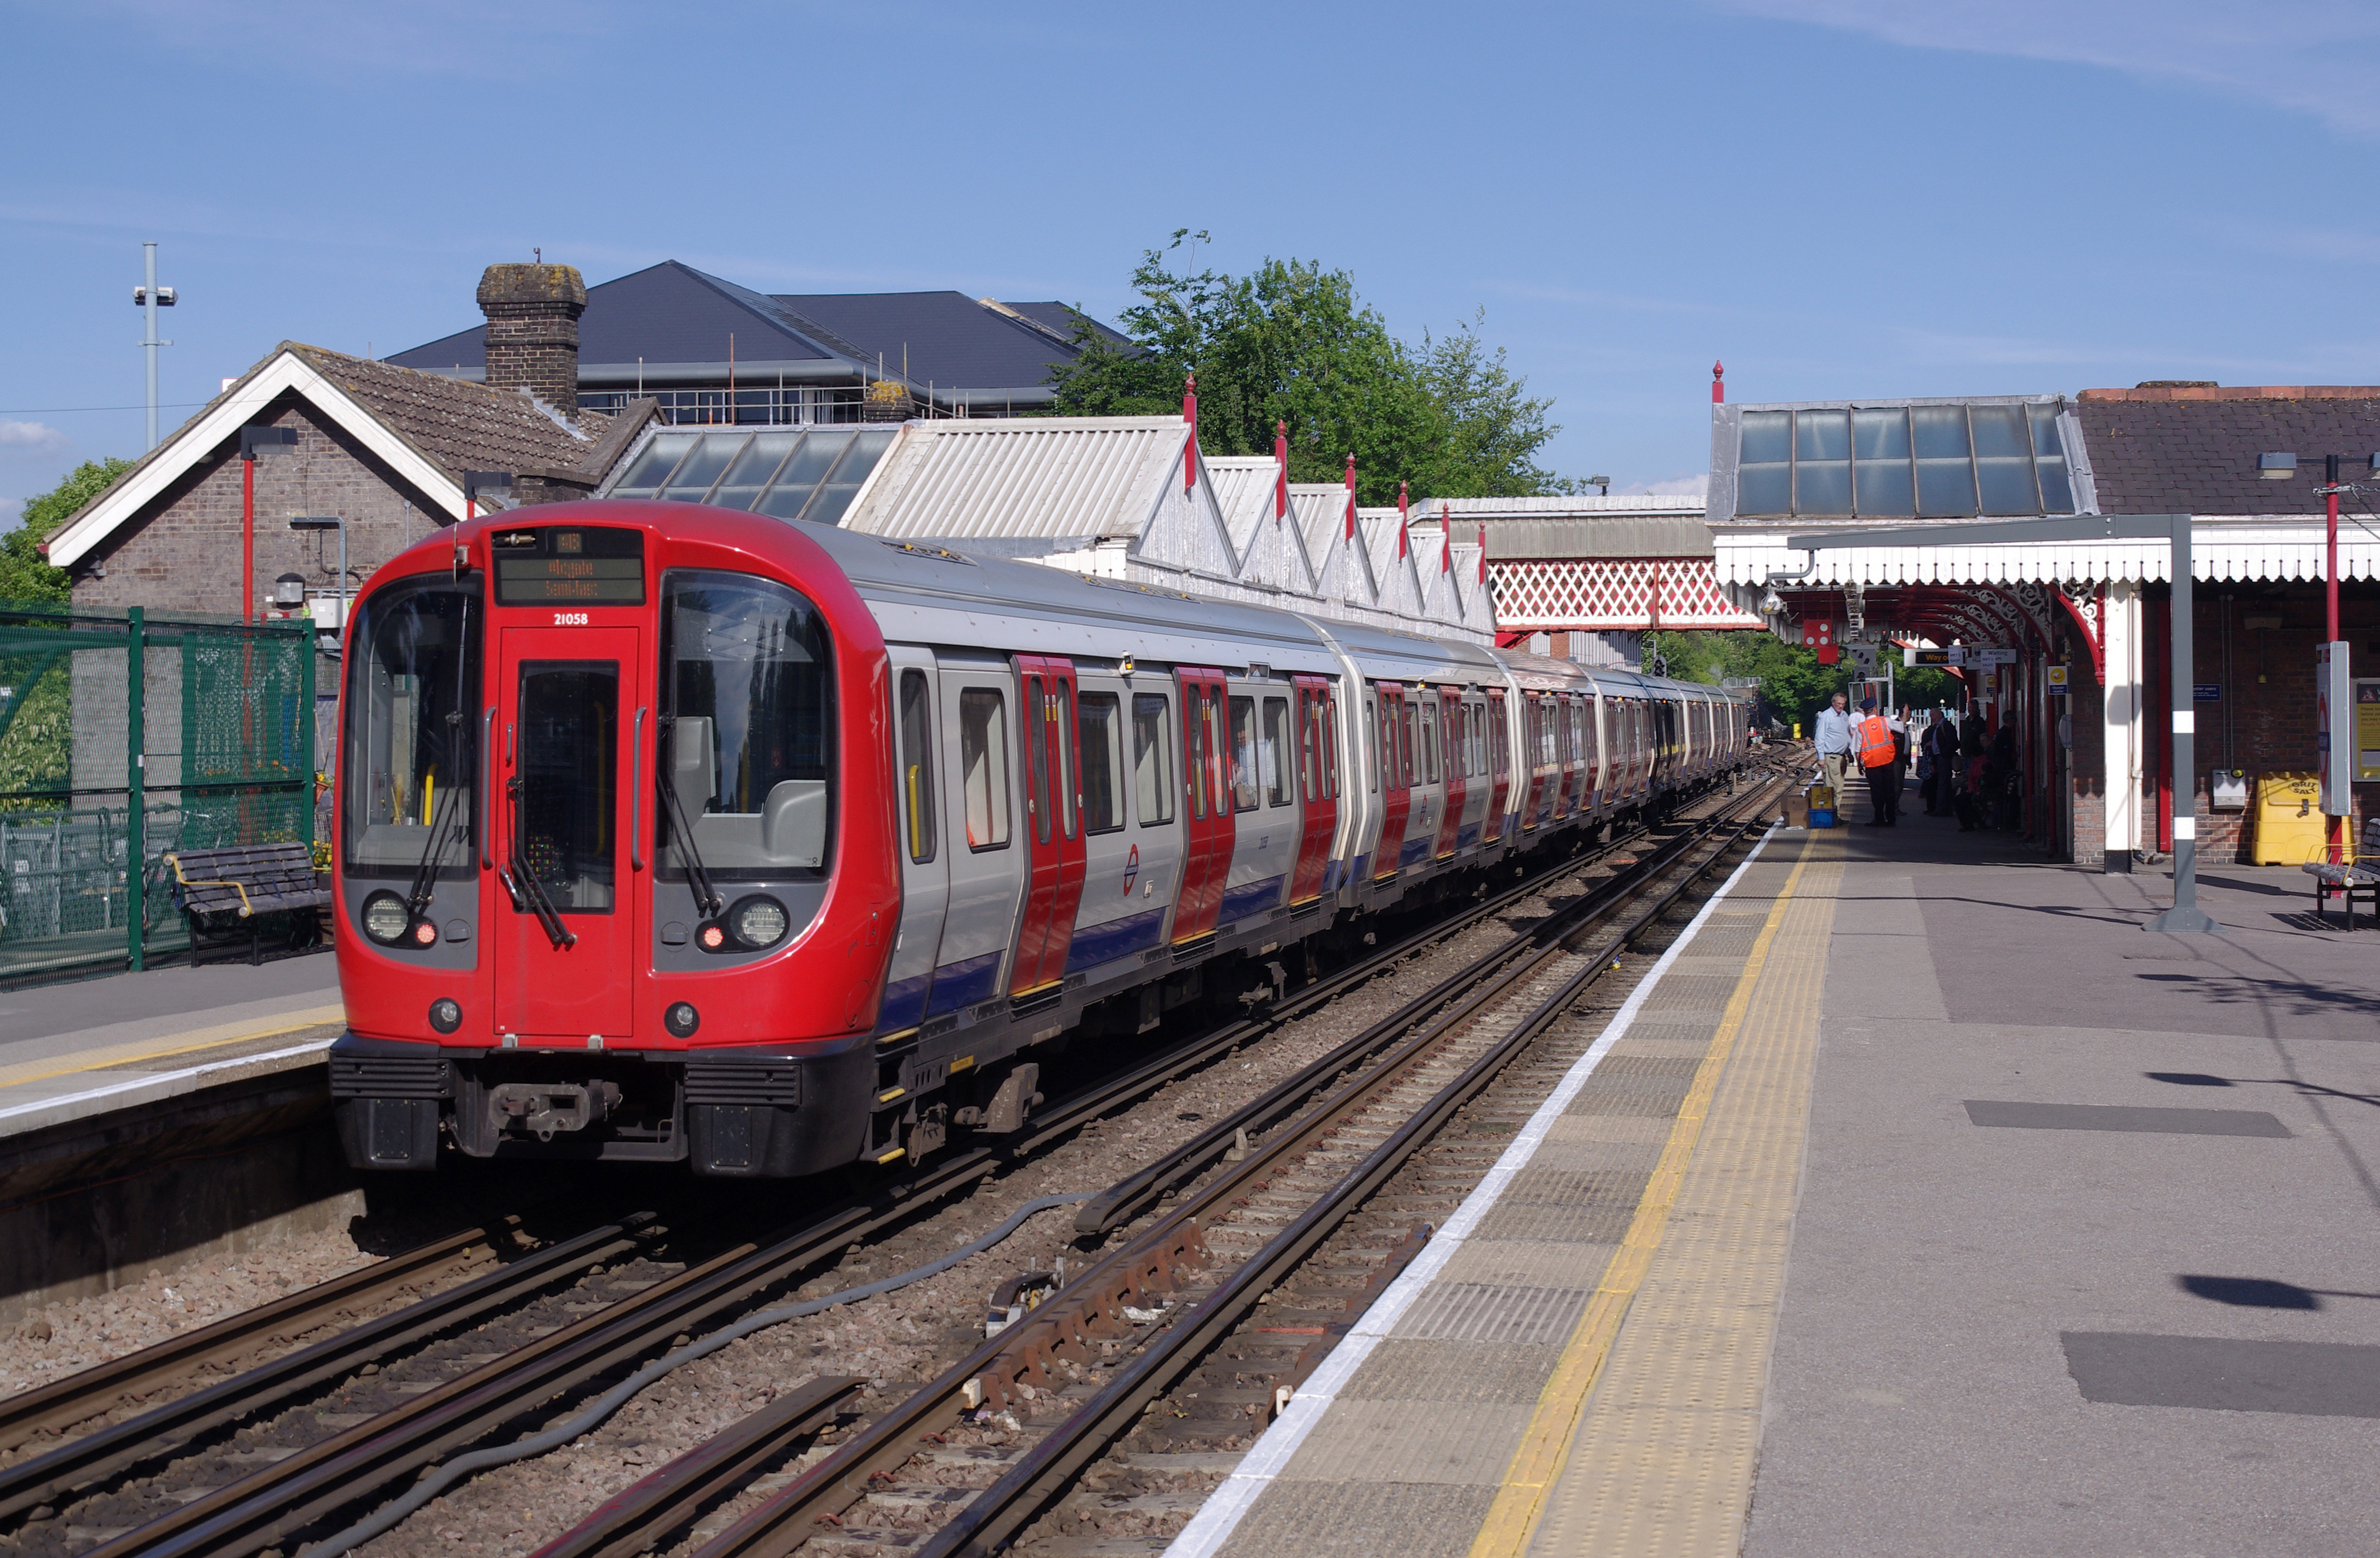
S7 & S8 Stock

| Operators | Number of Carriages | Maximum Speed (km/h) | Total Mass (long tons) | Max Braking Force (tons) | Power (kW) |
|---|---|---|---|---|---|
| London Underground: Circle Line District Line Hammersmith & City Line |
7 | 62 | 243 | 91 | ? |
| [Headcode];[Description];[Initial Speed];62;243;91;? | |||||
| London Underground: Metropolitan Line |
8 | 62 | 214 | 80 | ? |
| [Headcode];[Description];[Initial Speed];62;214;80;? | |||||